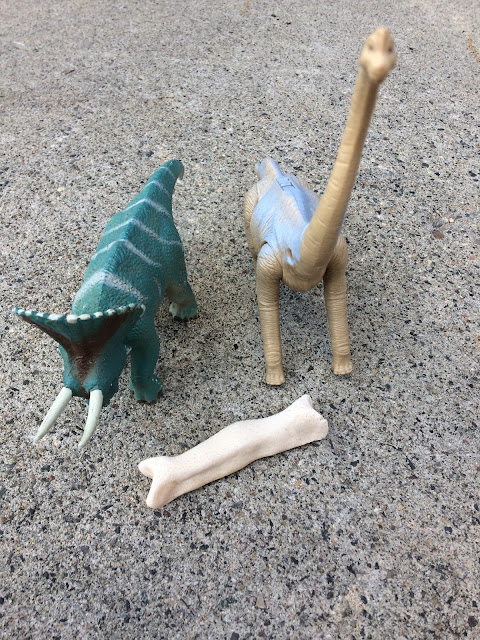
Kona has been a big dinosaur fan since he was two and I am always on the hunt for fun dinosaur activities. Last spring I was searching Pinterest when I found the cutest idea, salt dough dinosaur bones. I knew Kona would love to help me make them and pretend to be a paleontologist. Making them takes a little time because they have to cook for so long, but they are super easy to put together. The best part is how long they kept Kona entertained. Since we hadn't planted our garden yet, I hid them all in the dirt with the tops of them sticking out. Kona would find them and dust them off using a small paintbrush. I also traced the bones on a piece of paper so he could match them and put them in order from longest to shortest. This seriously kept him entertained for days. It was a sad day when they got left outside, and were ruined from the rain.
Since Kona had such a blast last year, I decided to make them again this week. While Kai was napping on Sunday, Kona and I got busy making bones and he loved it! He poured, mixed, rolled out bones, and played with a little bit of left over dough for about an hour. It was such a fun afternoon spending some one on one time with him. After they were done baking and Kai woke up we headed outside to hide and find bones. With it being summer and our garden already planted, I hid the bones all over the yard. The boys had a blast and played for over two hours! We've also played with them yesterday and today to. Making them might take a while, but it's well worth it when it costs next to nothing and keeps them entertained for days! #everymomsdream
Ingredients:
1 cup salt
2 cup's flour
About 3/4 cup water
Instructions:
Add flour and salt in a mixing bowl and lightly stir.
Pour in about half of your water and stir. Continue to add water little by little, until your dough becomes flaky. If you add too much water, it's no big deal. Just add a little bit more flour until all your water is absorbed.
Once your dough is flaky take it out and kneed it on your counter. You should end up with a ball of dough like this one.
After your dough is made, it's time to start making the bones!
This time around, I made the bones by rolling them out and by using these molds. They are the same molds I used to make Kona's birthday party cake and his cake on his birthday. I have definitely gotten my $14 out of them!
Once you have your bones made, turn your oven to 250 and cook them for a few hours. If you're not in a big rush, you can also leave them on your counter to air dry.
Time to start hiding and finding!
If you have a dinosaur fan at your house I would love to hear what fun crafts or games you play!
If you make these bones I would love to see pictures or hear stories of your little one loving them!
XOXO
To see more kids crafts check out my Pinterest page!


You're kidding me! My son is OBSESSED with dinosaurs and his birthday is coming up (end of November, but I start planning 3 months before haha). This is such an awesome idea!! Thank you! This is definitely going in my ideas book (is it weird that I have one of those??)
ReplyDeleteVisiting from Sincerely, Paula's Weekend Blog Party =)
This is SO CLEVER! Love it!
ReplyDeleteFound you via Thoughts for Thursday link-up -- this is such a cool idea! I have two little girls who I think would really enjoy this. :) Thanks for sharing!
ReplyDelete