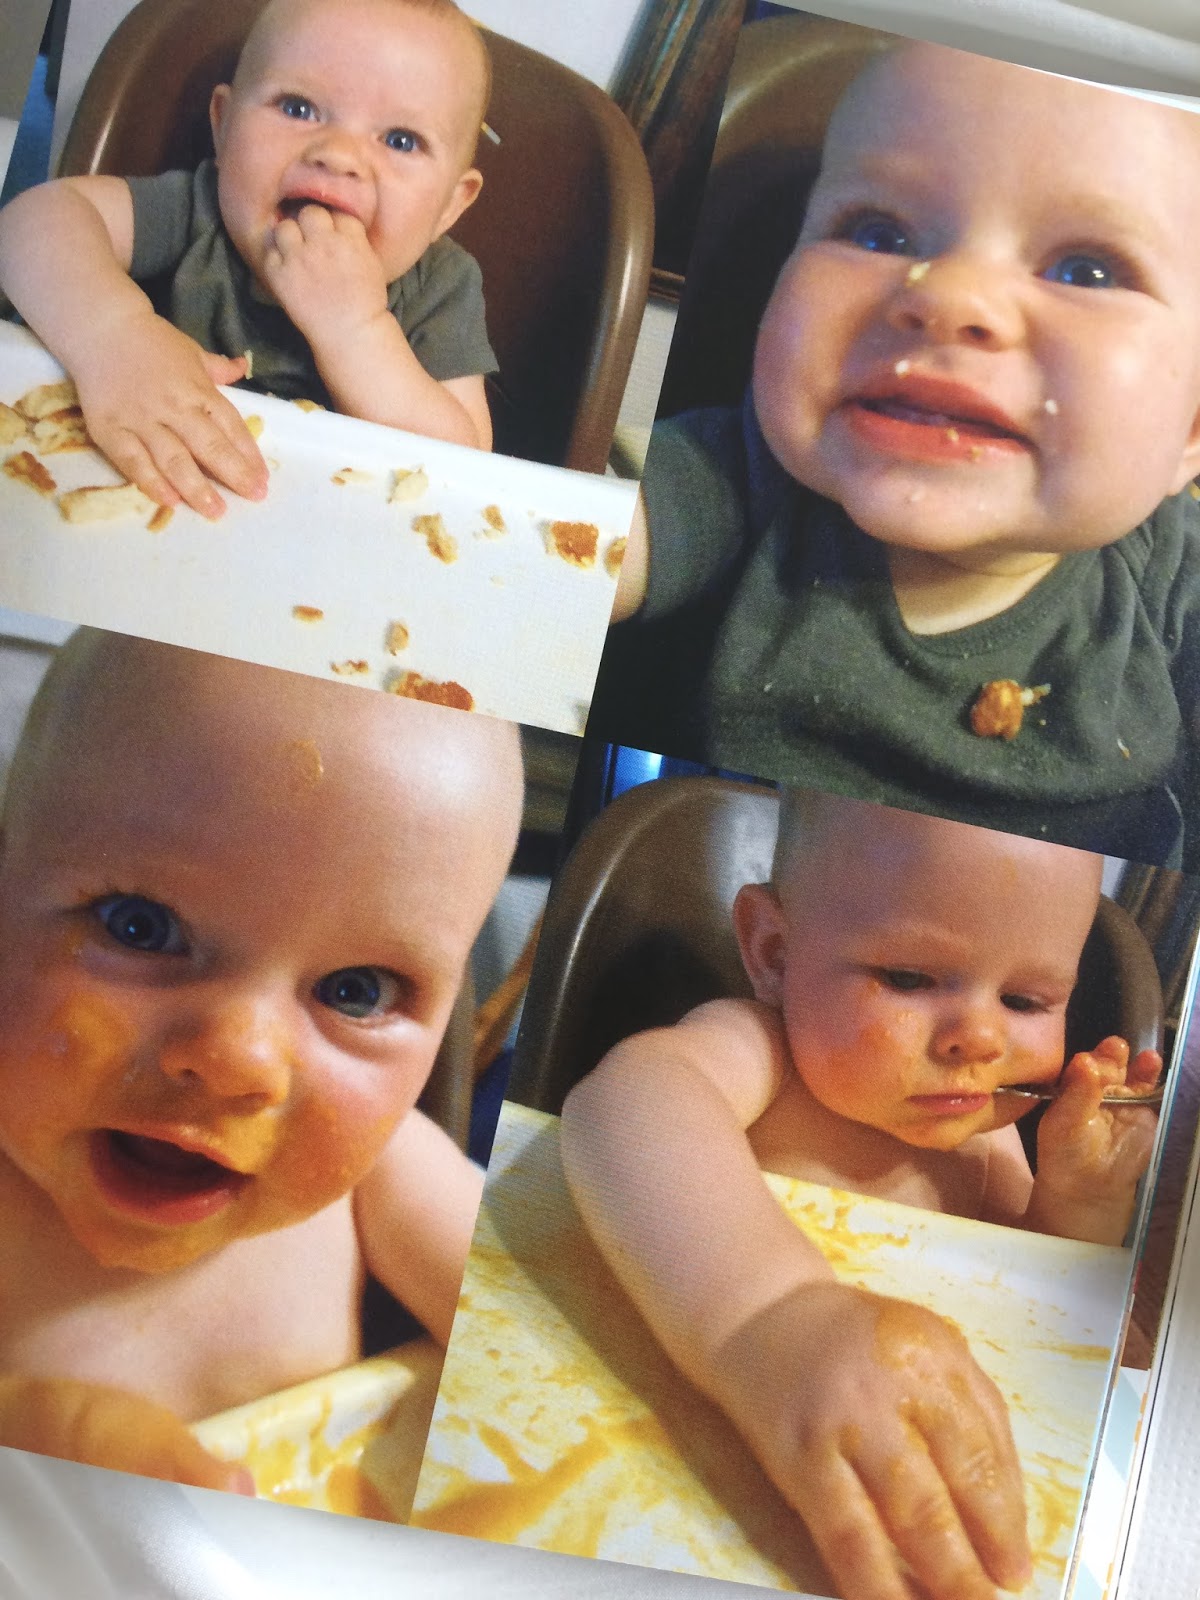
I have always loved taking pictures, and before we had kids I would spend hours upon hour's scrapbooking. For me, scrapbooking brought the pictures to life and took me back to the time they were taken. Since having kids scrapbooking hasn't happened. I have made a serious effort twice and each time I get started, it get's put to the side and never picked up again. With pictures mounting on my phone and computer, I needed to get serious and make some albums that we could enjoy. I started asking friends and family what they did with their pictures, and most of them had the same problem as me. They take so many pictures, aren't quite sure what to do with them, so they sit on a hard drive. My next solution was to search Pinterest. And low and behold I found so many different ideas. After searching, reading and searching some more I decided to make a family yearbook.


I decided to go with the yearbook because:
It brought our pictures to life, a lot like a scrapbook, but without all the time and supplies needed.
They are so easy to make.
You can include so much more from your year without the clutter. For example; art work, screen shots of text messages or Facebook posts, birthday cards, report cards or school assignments, school programs or invitations, vacation mementos and much more.
I could easily customize it and document stats about the boys, letters I write to them on their birthdays, a day in the life, excerpts from my blog, and anything else I want to remember.
All the pictures and book are backed up on their site and can be reordered at any time. I really love this because I want each one of our kids to have a copy.


Once I figured out what I wanted to do, the real issue emerged. Where do I even begin?! Since my scrapbooking attempts failed, I had thousands of pictures dating back to 2013, when Kona was born. I was so overwhelmed and once again did nothing. I knew what I wanted, knew how I wanted the books to look, but didn't know where to start. I knew I had to do one year at a time and not even think about the other years. Once I looked at each year individually and not the enormity of the whole project, I was able to take a deep breath and get started.
How I got started:
I decided to start with 2016 and work my way backwards through the years. I decided to do it this way so all the memories were fresh in my mind. I knew this was super important because I didn't want to get discouraged with starting in 2013 and quit.
I made a list of all the special events, key holidays, and anything else I didn't want forget.
I gathered up all the SD cards, phones, and social media that had pictures.
I texted our family and friends asking them to send me pictures I knew they had taken.
I made a yearly folder on my desk top with monthly folders inside.
I copied all the pictures, I wanted to go in the book, into the monthly folder.
I tried to be very selective here and not add every picture I had.
Once I had all the pictures in the folders, I went back through and double checked I had all the special events I wrote down. I'm so glad I did this because there were a few I was missing.
Sorting all the pictures didn't take as long as I expected, which was a total relief because this was the part I was dreading. Once I got going I actually loved sorting them. It was so fun looking back through the year and seeing all the fun we had.
When all the pictures were sorted it was time to put the yearbook together! There are many different companies you can go with to make your book, but I went with Shutterfly. The reason I went with them was because of their discount codes. I got our $200 book down to less than $30! Their website was easy to use and I LOVE the way our book turned out. They had a bunch of different themes, page layouts, backgrounds and embellishments.
Making The Book:
The first thing I did was pick a theme. Once I had a theme picked, I uploaded January's pictures. Shutterfly has an auto fill option, but I decided to manually lay out the pictures. I chose to do it this way, so groupings of pictures stayed together, and were the only pictures on that page. For example, Kai's monthly pictures, holidays, birthdays and such.
I made sure the "hide photos" button was on so pictures would hide as I used them. That way I wouldn't miss one and feel overwhelmed with trying to keep it all straight.
I began making the book by laying out all the pictures and then went back through and added embellishments and captions.
Once I had one month done, I would upload the next month and start laying out those pictures.
When I had the whole book done I picked a picture for the cover and for the first page. I also wrote a few notes about our year and the love I have for our family.
After the book was done I must have checked it over 4 times to make sure I didn't miss anything. I was so nervous to hit the purchase button! Once I did, I was so excited and couldn't wait for it to get here. Less than 2 weeks later I pulled up to my house and there was a orange box sitting on my step, with a book inside I will cherish forever.


The boys absolutely love looking through this book and talking about all the pictures. It's so fun to walk down memory lane with them. Kona gets such a kick out of all the funny pictures and the silly things he had done. I can't wait to show their girlfriends and wives one day! :)
I'm so happy I finally made this a priority and to be honest it was nearly as bad as I was expecting. If you are thinking about making a family yearbook, but feel overwhelmed and don't know where to start, by biggest piece of advice is to start small. Give yourself a timeline, work on it a little bit every day and make it a priority. You will be so happy you did it! I'm kicking myself for putting this off as long as I did, but now that one is done I can't wait to make the rest.

Please let me know if you have any questions or if I can help in any way!
XOXO


I did a family yearbook this year too and will definitely keep it up. I love your approach of listing your special events first, I'll be borrowing that for our 2017 book! Thanks for joining Thoughts for Thursday :)
ReplyDeleteThis is a great idea. My stepmom does something like this for friends. She's a photographer, but it's a great idea for parents too. I have a baby book for both of my kids, but creating a book will just add to it. Good suggestion!
ReplyDeleteWhat a great idea! I am definitely NOT a scrapbooker, but love keeping and sharing memories. I would totally do something like this as our family grows! Thanks for sharing.
ReplyDeleteSuch an adorable idea!!!!
ReplyDelete